The other day, I was adding jest to a new project. And when I add my script to run my test in the package.json, I asked myself:
How libraries can expose executable script? And how the project can use it?
Every day I use Command Line Interface, and I am sure you do too. Just look at my package.json:
{
  "scripts": {
    "lint": "eslint .",
    "test": "jest .",
    "build": "webpack ."
  }
}
A lot of libraries have CLI, jest, vitest, webpack, rollup, …
In this article you will see that thanks to the package.json you can expose executable file.
And that, at the installation of library, the package manager creates symbolic link in a binary folder inside node_modules
to the library CLI.
Let’s make a CLI together :)
Initialization of the library
Let’s make a new folder and go inside:
mkdir example-js-cli
cd example-js-cli
Now, we are going to create the package.json thanks to yarn:
yarn init
We are going to let all the values empty.
We end up with the following package.json:
{
  "name": "example-js-cli",
  "version": "1.0.0",
  "main": "index.js",
  "license": "MIT"
}
Let’s make some code
In this article, we are going to implement a simple CLI, that will print some information about your PC:
- your username
- the uptime of the computer
- the operating system
- the total memory
We are just going to use the os module of nodejs and the library chalk that allow us to make some stylized console logs easily.
No more talking, we want some code.
Just add the chalk library:
yarn add chalk
And here is the code, I have written:
const os = require('os');
const chalk = require('chalk');

const colors = [
  'red',
  'yellow',
  'green',
  'cyan',
  'blue',
  'magenta',
];

/**
 * Function to make some rainbow <3
 */
function rainbowText(value) {
  return value
    .split('')
    .map((letter, index) =>
      chalk[colors[index % colors.length]].bold(letter),
    )
    .join('');
}

const SECONDS_BY_HOUR = 3600;
const SECONDS_BY_DAY = SECONDS_BY_HOUR * 24;

/**
 * Seconds doesn't mean anything for me.
 * Let's transform it to day / hour / minute
 */
function secondsToHumanTime(seconds) {
  const days = Math.floor(seconds / SECONDS_BY_DAY);
  const hours = Math.floor(
    (seconds - days * SECONDS_BY_DAY) / 3600,
  );
  const minutes = Math.floor(
    (seconds -
      hours * SECONDS_BY_HOUR -
      days * SECONDS_BY_DAY) /
      60,
  );

  const array = [
    {
      value: days,
      label: 'day',
    },
    {
      value: hours,
      label: 'hour',
    },
    {
      value: minutes,
      label: 'minute',
    },
  ];

  // Do not insert 0 values
  return (
    array
      .filter(({ value }) => value > 0)
      // Trick to make plural when needed
      .map(
        ({ value, label }) =>
          `${value}${label}${value > 1 ? 's' : ''}`,
      )
      .join(' ')
  );
}

/**
 * Mb is way more readable for me
 */
function byteToMegaByte(byteValue) {
  return Math.floor(byteValue / Math.pow(10, 6));
}

console.log(
  `Hello ${rainbowText(os.userInfo().username)}\n`,
);
console.log(
  chalk.underline(
    'Here you will find some information about your pc',
  ),
);

console.table([
  {
    info: 'Uptime',
    value: secondsToHumanTime(os.uptime()),
  },
  {
    info: 'Operating System',
    value: os.version(),
  },
  {
    info: 'Total memory',
    value: `${byteToMegaByte(os.totalmem())}Mb`,
  },
]);
It’s a lot of code that I give without explanation. But it should be fine to understand.
If you have some questions about it, do not hesitate to PM me on Twitter :)
And now we can run this script by running:
node index.js
This is what I get:

Otherwise, you can also add a scripts entry into our package.json:
{
  "scripts": {
    "start": "node index.js"
  }
}
And now we can just launch it with:
yarn start
But this is not the goal of this article, we want the world to use our wonderful library.
Let’s make the CLI stuff
It would be wonderful if any project could just add the following scripts in their package.json:
{
  "scripts": {
    "computerInfo": "giveMeComputerInfo"
  }
}
With giveMeComputerInfo that is our CLI. Instead of locating our exported scripts in their node_modules and run it with node.
As you may guess it, you will just edit your package.json to do it.
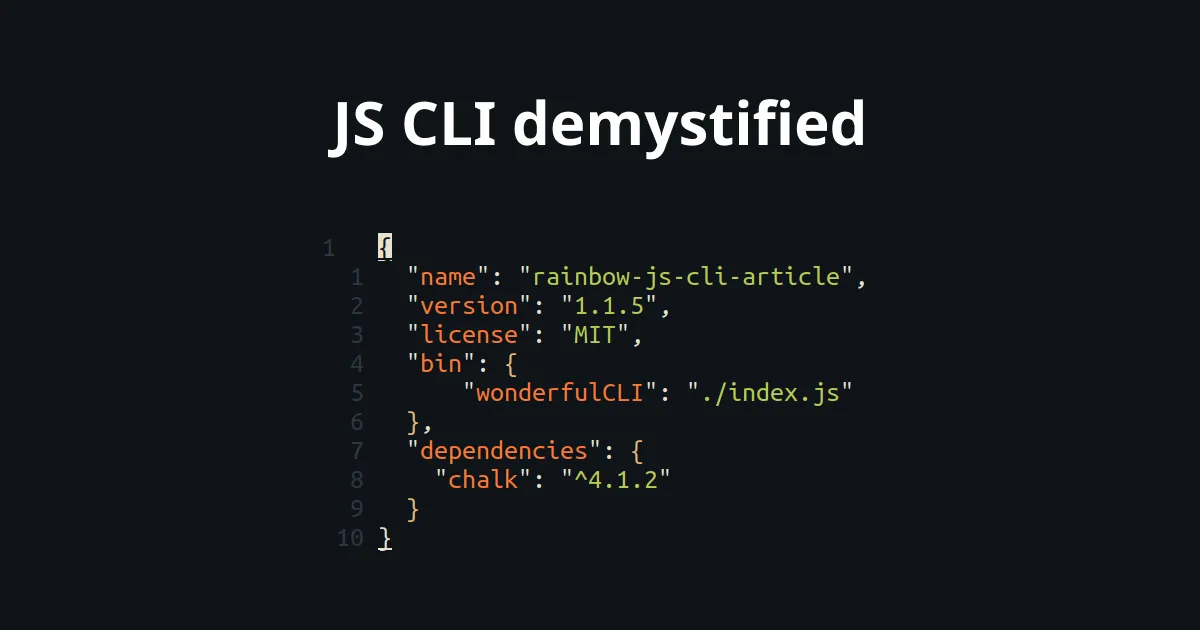
The property to do that is named bin (meaning binary).
There is two ways to reference our script. The first one is just to put the path to your script.
{
  "bin": "./index.js"
}
In this case the name of the executable is the name of our package, i.e. example-js-cli.
Well, not the best. Here is the second method to the rescue:
{
  "bin": {
    "giveMeComputerInfo": "./index.js"
  }
}
And that’s all?
Actually, no. If you publish the library. And add it in another project, and add the scripts’ entry written a bit upper on the page. It will… just fail.
Why does it fail?
Because, we need to tell to the unix shell what is the interpreter that needs to run the script. We can do this thanks to the following shebang syntax:
#!/usr/bin/env node
Put this at the top of the index.js file. And here we go.
How does it work?
When you add a library, the package manager will detect the property bin and will make symbolic links to each scripts
to the node_modules/.bin directory.
When a CLI is called in scripts, it will first look at the node_modules/.bin and then will look at every directory
that are registered in your PATH. For example for UNIX users, in the PATH you will find:
/usr/.bin/usr/local/bin- …
You can all the directory, by launching:
echo $PATH
Add a package globally on your machine
You may not know, but you can also add package globally on your operating system.
You can do it with yarn with:
yarn global add theWantedPackage
And with npm:
npm install -g theWantedPackage
Then, you will be able to execute CLI of the theWantedPackage from everywhere on your computer.
How does global package work?
As you can imagine when you add a package globally, the package is installed in a node_modules somewhere on your computer and
a symbolic link will be created into /usr/local/bin/.
For example, let’s add our package globally:
yarn global add example-js-cli
You can now see where is located the executable giveMeComputerInfo by launching:
which giveMeComputerInfo
Effectively, it’s located in the /usr/local/bin folder, but it’s only a symbolic link.
But where is the real file?
ls -l /usr/local/bin/giveMeComputerInfo
The result depends on if you use yarn or npm.
| Package manager | localization |
|---|---|
| yarn | /usr/local/lib/node_modules/bin |
| npm | /usr/local/share/.config/yarn/global/node_modules/bin |
As you can see, the symbolic link points to the symbolic link inside the node_modules/.bin folder and not directly to the script.
Fun fact: yarn create a global project that has a package.json. When you add globally a dependency it will be
added inside this package.json.
Conclusion
You can expose CLI thanks to the bin property of your package.json. It’s even possible to export multiple CLI.
Then, when you install the library in a project, the package manager will detect the property and will make some symbolic link to the .bin directory in node_modules. This symbolic link point to the real script file.
When you launch a script command, the package manager will look at the .bin folder then will look to every directory registered in your
PATH.
It’s also possible to add a CLI globally on your system, in this case the library is installed in a “global” node_modules directory
and a symbolic link is created inside the /usr/local/bin folder pointer to the symbolic link inside the node_modules/.bin folder.
Thanks for reading
You can find me on Twitter if you want to comment this post or just contact me. Feel free to buy me a coffee if you like the content and encourage me.